Ready to start juicing?
It’s easy but yes, it does take time! These tips and tricks will help make it a fun and smooth process for you. Not sure what to do with that lemon? Peel it or not? Check out our produce prep guide.
Getting Ready to Juice
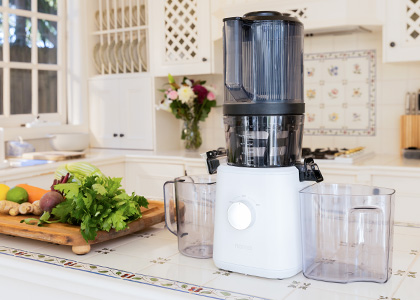
1. Select Your Juicer
Find the best juicer for you. Our Juicer Buying Guide includes comparisons of juicer features, prices, and pros and cons of various types.

2. Prepare Your Grocery List
Before making a trip to the store or market, make your grocery list so you know exactly how many fruits and vegetables to purchase. Or use our juice recipes app to help make your list.
3. Save time
Prepare your fruits and veggies the night before if you plan on making a morning juice by selecting the ingredients for your juice, washing the produce, placing them in a storage container in the fridge and assembling the juicer in your kitchen so it’s ready to go.
4. Now, Start Juicing
Wash, cut and juice! Follow the following steps below, to make your juice(s) and start flooding your body with nutrients from all of the fruits and vegetables.
How to Make a Juice
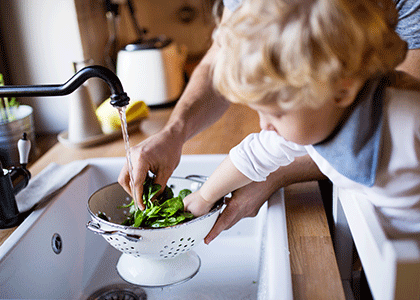
- Wash produce thoroughly. Unwashed produce can be contaminated with bacteria so this is an important step in the juicing process.
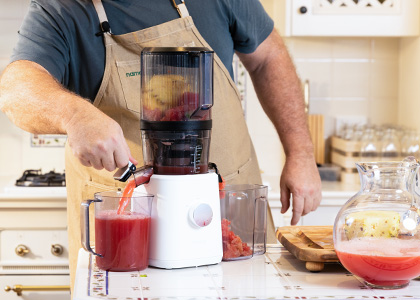
- Add produce to the juicer. If your juicer has more than one speed, don’t forget to down-shift from high to low for softer fruits. Most juicers come with a chart in the instruction manual to help guide you on speeds. Usually hard produce like apples and beets are on High and soft ones like spinach or cabbage are set to Low.
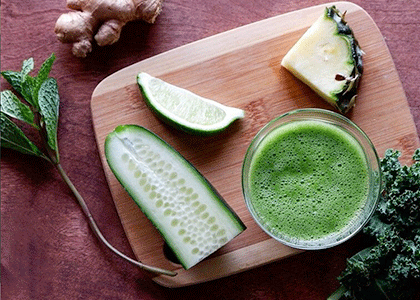
- Drink up and juice on. At this point, you should have a fresh juice ready for you to drink! Drink it as soon as possible because once it’s juiced it starts to lose nutritional value overtime. If stored properly, it can last up to 2 days max but remember that there are no preservatives in fresh juice (which is why we love it!) so it can go bad quickly. If you prefer it cold, pour over ice.
- Now it’s time to clean your juicer. Carefully scrub your machine with warm water and soap and place on a drying mat. Check the owner’s manual to see if your juicer is dishwasher friendly for an even faster clean.
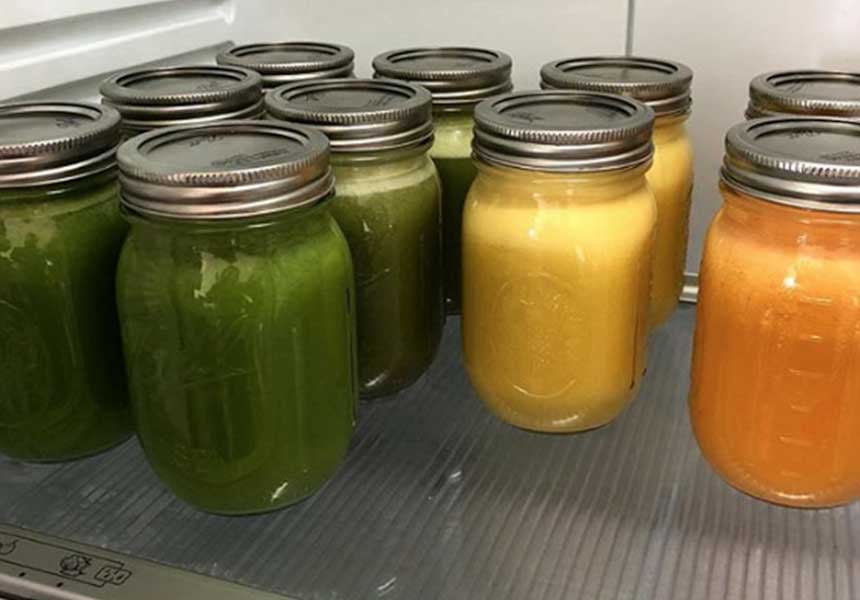
Tips for Storing a Juice
- Make a double batch. Make more than one juice, have half right away, and then store the rest for your juice later that day or the following day. This will help ensure you get the most potent juice possible for at least one serving.
- Store in the fridge. Juice will keep for 24-48 hours in the fridge (72 hours is maximum time suggested). If you are traveling bring your juice in a cooler.
- Keep in airtight container. Store your juices in glass airtight containers for best results.
- Fill container full. Fill juice to the top of your preferred container to prevent oxygen from getting in which can deplete the nutrients.
- Freeze.Freezing is also an option but less desirable than refrigeration. If you do freeze your juice do it immediately after juicing. Thaw in the refrigerator and drink within 7-10 days of freezing.
- Store in the correct environment. The juice should be stored in a dark, cool environment away from heat and light.